A closer look at the craft
A garage with a working purpose.
Put tools and supplies in useful storage while keeping room to park, move and work.
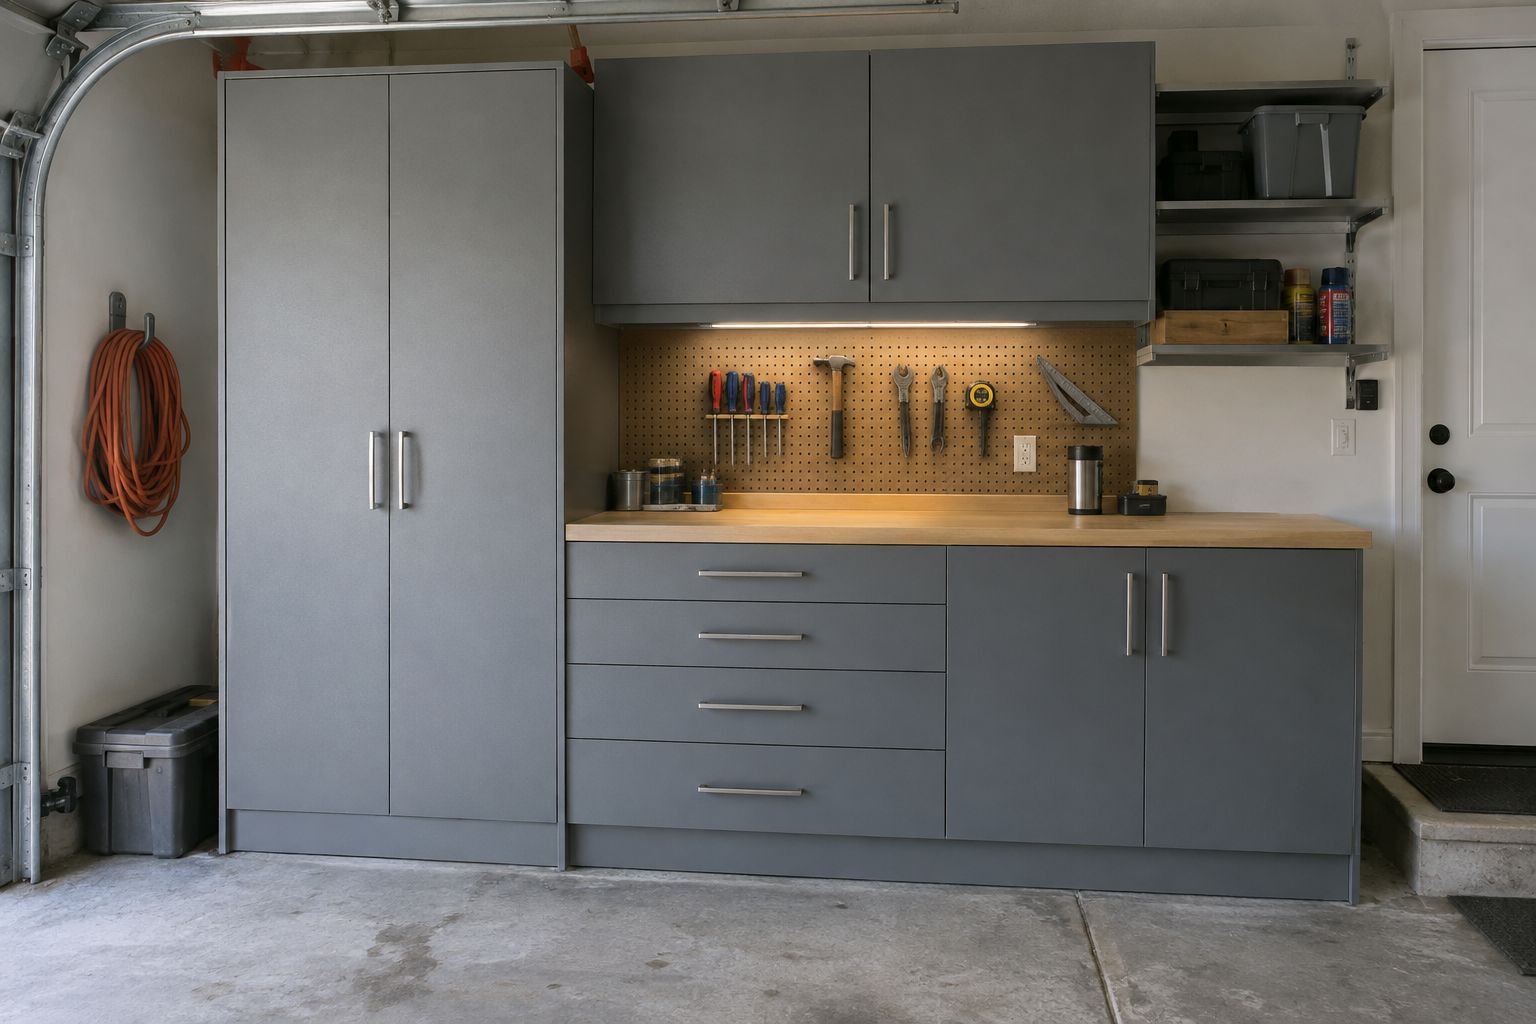
Protect the space you need to move.
A garage cabinet plan starts with the space that must remain free. Vehicle doors, the route into the house and access to equipment can all compete with storage along the walls. We organize cabinet runs around those clearances, then divide tools, household supplies and occasional equipment into useful zones. A workbench needs both an appropriate surface and room for the person using it. The goal is a garage that is easier to use, with a clear place to return items after each task.
Plan for the largest and heaviest items.
Measure tool cases, bulky containers and long equipment before deciding shelf spacing. Intended loads influence the shelf arrangement, cabinet construction and fixing detail; describe what the cupboard will hold rather than assuming every shelf has the same capacity. A tall bay may suit awkward equipment while shallower drawers keep small parts visible. Wall conditions, obstructions and the actual garage floor are reviewed before installation dimensions are approved.
Make the bench a usable work zone.
Choose the worktop around the activities you expect, including the tools or equipment that need a secure position. Drawer handles should be reachable without blocking movement at the bench. Review the cabinet material and finish for the garage conditions and the way it will be cleaned. Finished end panels, exposed edges and a sensible base detail deserve the same attention as the front color.
Aim the light where the work happens.
A dedicated task light under a wall cabinet can illuminate the bench separately from the main garage fixture. Keep glare out of the working view and identify the power route before fabrication. Our CNC process can include a recess sized for the chosen LED profile, with accessible connections and controls included in the layout. Placement is coordinated with storage above the bench so the light is useful when the cupboards are open.
Bring the details together.
Map the garage with the vehicles in mind.
Photograph the garage from the entrance and list the largest items you store. Include parked vehicle dimensions, existing outlets and the position of tracks or equipment so a cabinet run can be assessed against real clearance.
View all 11 Southwest Florida service areas.
Organize my garage cabinetryBefore you begin
Your questions, considered.
Start with these planning details, then discuss the requirements of your own space.
What garage clearances affect the cabinet depth?
Vehicle doors, the route into the house, tracks, outlets and existing equipment all matter. Photographs with vehicles parked and dimensions of the available wall space help establish the footprint.
Can the cupboards hold heavy equipment?
Describe the intended loads and the largest items during planning. Shelf construction, supports and cabinet fixing are specified for the agreed use rather than assumed from the cupboard appearance.
Can the workbench have its own light?
A dedicated task fixture can be coordinated below wall storage. Position it around the work, then review glare, power routing and access to its components with the bench layout.
Bring photographs, your project location and the details you would like to discuss.
Discuss your projectA gallery of possibilities
A closer look at the working garage
Explore the shapes, materials and details. Select a photograph for a closer look.
Bring the ideas you enjoy to a conversation about your own space.
Workbench surfaces and cabinet panels are reviewed for the intended work and exposure.
Review related surfacesIllustrated design studies
A direction for your own space.
Explore proposed materials, details and scope, then adapt the ideas to your actual project.